
Preparing Your Home for a Photo Shoot
Preparing your home for a photoshoot can be exhausting. The day of the photography is one of the hardest times of the home selling process. Everything has to be ready by the appointment time.
It’s common for photographers to show up on the day of a photo shoot to find the sellers frantically trying to finish the last steps. If you've ever been in this position, you understand the stress.

How your home looks will dramatically impact your buyers' opinion of your house and your sales price. It would be best if you had the most professional photography possible. This is why real estate marketing has changed so drastically over the past few years. If the pictures on a listing aren’t enticing, potential buyer’s will not bother visiting your home.
You will get significantly more out of your photos if your house is entirely ready when the photographer arrives. Rearranging and tidying rooms is not part of the photographer’s job.
To get the most out of your professional real estate photographer, follow the real estate photography pre-shoot checklist below. It will help ensure that your house is photo-ready and welcoming before you list your home for sale.

PREPARING THE WHOLE HOME
The house should look clean and organized.
Decluttering countertops go a long way in making a home look open and inviting.
Smaller things, such as removing visible garbage cans, can also make the house look cleaner.
Perhaps most important, check to ensure every light fixture in the home turns on with a working light bulb.

PREPARING THE OUTSIDE OF THE HOUSE
Park vehicles away from the house or in the garage.
Freshen up landscaping.
Remove trash, branches, leaves, etc.
Remove dead plants and trees.
Sweep outdoor space and walkways.
Remove visible foliage from the roof and gutters.
Spread fresh mulch.
Remove debris, hose, and toys from the yard.
Store outdoor trash and recycling bins. It is best to place them in a garage area in an outside shed for the photoshoot.
Store garden hoses and caddy.
Store outdoor tools, equipment, and so on.
Store toys and bikes.
Store BBQ and accessories or clean it.
Wash windows and glass doors.
Clean outdoor furniture.
Place pillows, umbrellas and accents on outdoor furniture.
Straighten outdoor furniture.
Store seasonal decor.
Mow the grass, rake up leaves, pull weeds, and remove any dead vegetation

PREPARING THE INSIDE OF THE HOME
Lights off, please. Artificial lighting will change the colours for the home to yellow or blue. Natural outside light is the best. In rooms with no windows, the photographer will adjust the lighting accordingly.
Clear all countertops and remove clutter.
Depersonalize home by removing photos and names.
Turn off all fans and store portable fans.
Clean mirrors and windows.
Vacuum carpets and polish floors.
Store wastebaskets and laundry baskets out of sight.
Store pet dishes, toys, beds, etc.
Turn off televisions, computers, and dust screens.
Display attractive books or magazines on coffee tables.
Store remote controls and chargers.
Straighten furniture.
Hide electrical cords and cables.
Store toys and video games.
Store seasonal decor.
Remove rugs and runners in kitchens, entryways, and bathrooms so that the floor can be seen clearly.
Remove excess furnishings and knick-knacks from rooms.

WINDOW COVERINGS
Horizontal blinds and shutters: It is best to keep horizontal blinds down. but open the blades in a flat position to see the exterior. The exception is when you do not want to see outside the window (side of a house when a neighbour's house is visible.) In those cases, turn the shutter blades up a little.
Vertical blinds: These blinds usually look best fully open. The most important thing is that any wall with multiple window coverings is adjusted all the same.

PREPARING THE KITCHEN
Remove dirty dishes and food.
Store any food that is visible.
Clear counters of clutter and small appliances.
Remove refrigerator magnets, photos, etc.
Clean surfaces and appliances.
Hide soaps, towels and cleaning items.
Store draining racks.
Organize open shelves.
Sweep and mop kitchen floor and rug.

PREPARING THE LIVING AREAS
Minimize photos and personal items.
Organize bookshelves.
Minimize knick-knacks.
Set tables with simple place settings.
Remove excess furniture and accessories.

PREPARING THE BEDROOMS:
Make the beds correctly and remove wrinkles.
Arrange decorative pillows.
Store clothing and shoes.
Remove items underneath the bed if they can be seen.
Remove all clutter.
Tidy master closets.
Declutter and depersonalize bedside tables.
Organize children’s rooms and remove clutter.
Remove laundry and stow hampers.
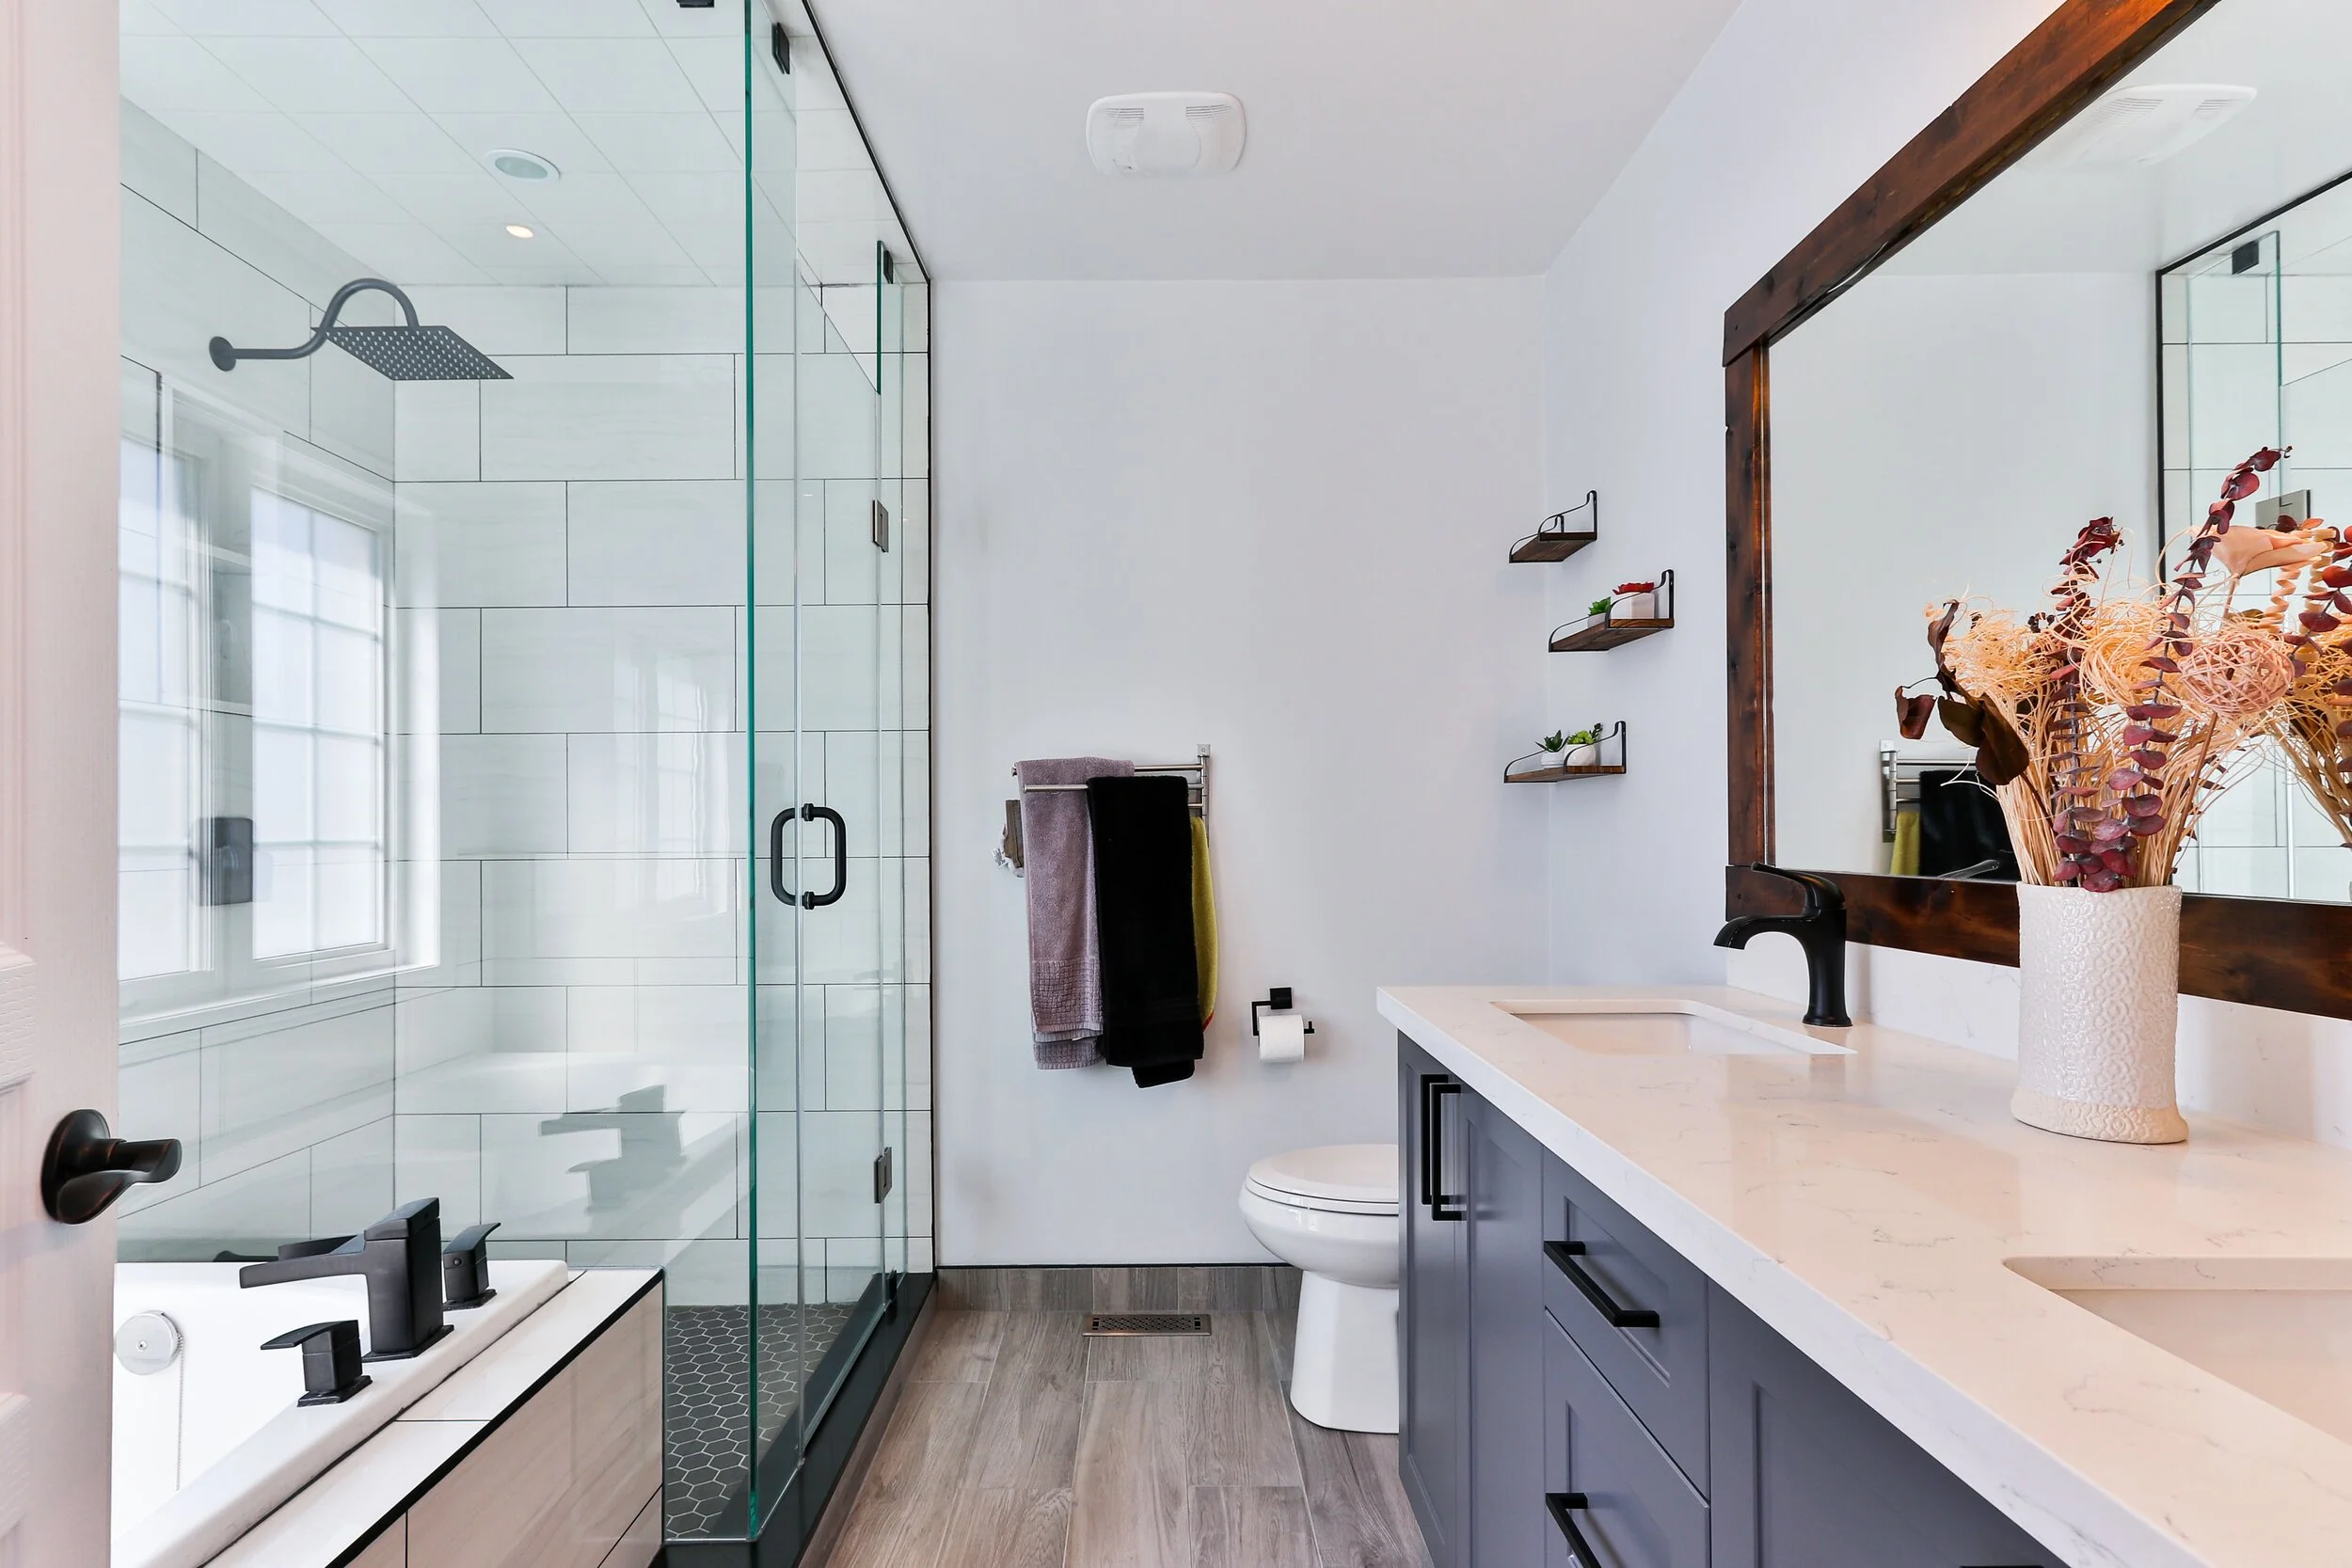
PREPARING THE BATHROOMS:
Close toilet lids.
Remove countertop items.
Remove bath and shower items.
Store toilet brushes, plungers and wastebaskets.
Store towels.
Store soaps and candles.